Getting Started with IMTerm on Windows
IMTerm replaces legacy desktop terminal emulators with a browser-based approach. Instead of installing software on each user's PC, you install one binary on a Windows server and all users connect with their existing browser. This guide covers running IMTerm on Windows - both for a single-user local installation and for a shared server deployment.
What Makes IMTerm Different from Legacy Emulators
Legacy terminal emulators require installation on every desktop machine. When a PC is replaced or rebuilt, the configuration has to be recreated. IT teams manage hundreds of individual installs, keyboard mappings, and script files scattered across drives.
IMTerm flips this model. The server holds everything: connection profiles, user accounts, keyboard mappings, scripts, and the application itself. Users open a URL in Chrome or Edge - nothing installs on their machine. A new PC is productive in 30 seconds.
What You Need
- Windows 10 or Windows Server 2016 or later (x86_64)
- 512 MB RAM for server mode; 256 MB for local mode
- Port 8080 open in Windows Firewall (or your chosen port)
- A modern browser (Chrome, Edge, or Firefox) for all terminal users
Step 1: Download IMTerm
Contact Infomanta sales at sales@infomanta.com to request the Windows package. You will receive:
imterm.exe- standalone executable, ~7.5 MB, no installer requiredimterm-setup.exe- Windows installer with Start Menu entry and service integration
For the standalone .exe, copy it to a permanent location such as C:\Program Files\IMTerm\ or C:\imterm\.
Verify in PowerShell:
C:\imterm\imterm.exe --version
# IMTerm v2.0.1 (abc1234) built 2026-06-27 with go1.22.4
Step 2: Run in Local Mode
Local mode is the fastest way to evaluate IMTerm. Double-click imterm.exe or run from PowerShell:
C:\imterm\imterm.exe --local
IMTerm binds to 127.0.0.1:8080 and opens your default browser automatically. You will see the IMTerm login screen.
Set credentials before starting if you want non-default values:
$env:IMTERM_ADMIN_USER = "admin"
$env:IMTERM_ADMIN_PASS = "MySecurePassword"
C:\imterm\imterm.exe --local
Step 3: Connect to Your AS/400
After logging in, click "New Connection" and fill in the connection profile:
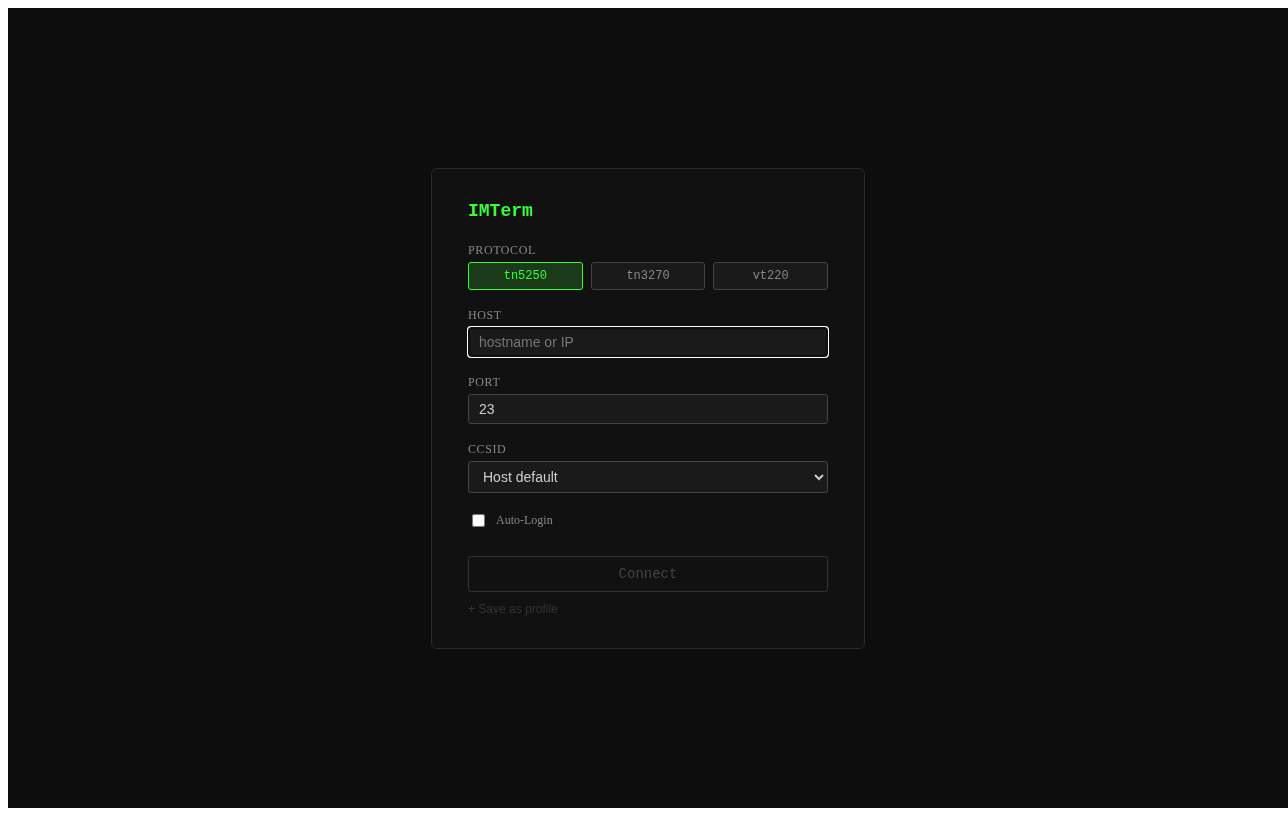
| Field | Value |
|---|---|
| Name | Production AS/400 |
| Protocol | TN5250E |
| Host | as400.example.com |
| Port | 23 (standard) or 992 (TLS) |
| CCSID | CP424 (Hebrew New) or CP037 (US English) |
| Terminal type | IBM-3179-2 (24x80) or IBM-3477-FC (27x132) |
Click "Connect". The AS/400 sign-on screen appears in the terminal window.
For z/OS mainframe (TN3270E) connections, you need ws3270.exe in your PATH. Download it from the x3270 project and place it alongside imterm.exe.
Step 4: Create config.yaml
Before running as a service or server, create a configuration file. Generate an annotated template:
C:\imterm\imterm.exe --generate-config | Out-File -Encoding UTF8 C:\imterm\config.yaml
Edit the key settings for Windows. Note that Windows paths use backslashes, but config.yaml supports forward slashes too:
# C:\imterm\config.yaml

# Listen address.
addr: "0.0.0.0:8080"

# Data directory on Windows. Forward slashes work fine.
data_dir: "C:/ProgramData/IMTerm"

# Auth mode.
auth:
  mode: local

# TLS - use IIS or a reverse proxy in front, or configure directly:
# tls:
#   cert: "C:/imterm/tls.crt"
#   key:  "C:/imterm/tls.key"

session_idle_timeout: "30m"

audit:
  rotate: daily
  keep_days: 365
Create the data directory:
New-Item -ItemType Directory -Force -Path "C:\ProgramData\IMTerm"
Step 5: Open the Firewall
Allow inbound connections on port 8080 (or your chosen port):
netsh advfirewall firewall add rule `
  name="IMTerm Terminal Emulator" `
  dir=in action=allow protocol=TCP localport=8080
For HTTPS (port 443) if you're handling TLS directly:
netsh advfirewall firewall add rule `
  name="IMTerm HTTPS" `
  dir=in action=allow protocol=TCP localport=443
Step 6: Install as a Windows Service
IMTerm includes a native Windows Service mode. This runs it automatically at startup and lets you manage it through the standard Windows service tools.
Register the service:
C:\imterm\imterm.exe service install --config C:\imterm\config.yaml
This registers "IMTerm Terminal Emulator" as a Windows Service that starts automatically on boot.
Manage the service:
# Start
C:\imterm\imterm.exe service start
# Or: net start "IMTerm Terminal Emulator"

# Stop
C:\imterm\imterm.exe service stop
# Or: net stop "IMTerm Terminal Emulator"

# Check status
Get-Service "IMTerm Terminal Emulator"

# Remove the service
C:\imterm\imterm.exe service remove
When running as a Windows Service, IMTerm logs to the Windows Event Log under Application source "IMTerm". View logs in Event Viewer or with PowerShell:
Get-EventLog -LogName Application -Source IMTerm -Newest 50
Step 7: Create the First Admin User
Set the initial admin credentials as environment variables before starting the service:
[System.Environment]::SetEnvironmentVariable("IMTERM_ADMIN_USER", "admin", "Machine")
[System.Environment]::SetEnvironmentVariable("IMTERM_ADMIN_PASS", "YourSecurePassword", "Machine")
After the first start, the account is created and the environment variables can be cleared. For additional users, use the CLI or web admin console:
# Add a user
C:\imterm\imterm.exe user add --name alice --role user

# List users
C:\imterm\imterm.exe user list
Step 8: Test from Another Machine
Open a browser on another PC and navigate to http://your-server-name:8080. Log in with your admin credentials. Create a connection profile and connect to your AS/400.
All terminal sessions, profiles, and scripts are stored on the server. If a user gets a new PC, they just open the same URL - no reconfiguration needed.
TLS Configuration
For production, configure TLS. The simplest approach on Windows is to use IIS as a reverse proxy:
- Install the Application Request Routing (ARR) and URL Rewrite modules in IIS.
- Create an IIS site with an HTTPS binding using your certificate.
- Add a reverse proxy rule to forward all traffic to
http://127.0.0.1:8080. - Enable WebSocket support: in IIS Manager, turn on WebSocket Protocol.
Alternatively, configure TLS directly in IMTerm:
tls:
  cert: "C:/imterm/tls.crt"
  key:  "C:/imterm/tls.key"
Then change the listen address to :443 and update the firewall rule accordingly.
Windows vs Linux Deployment - Key Differences
| Aspect | Windows | Linux |
|---|---|---|
| Service management | Windows Service Manager | systemd |
| Log viewing | Event Viewer | journalctl -u imterm |
| Default data path | C:\ProgramData\IMTerm |
/var/lib/imterm |
| Config path | C:\imterm\config.yaml |
/etc/imterm/config.yaml |
| Print routing | PDF download (no CUPS) | CUPS or LPR |
| TZ setting | Windows system clock | /etc/localtime |
| TN3270E dep | ws3270.exe in PATH |
s3270 in PATH |
Print output on Windows is handled differently: IMTerm generates PDFs that are offered as browser downloads, since CUPS is a Linux-only print system. For Windows-attached printers, open the PDF and print from the browser.
Verification Checklist
- [ ]
imterm.exe --versionshows v2.0.1 - [ ] Service appears in
Get-Service - [ ] Browser connects from another machine on the network
- [ ] Admin login works
- [ ] Terminal session connects to AS/400
- [ ] Event Viewer shows IMTE log entries
- [ ] Service restarts after
Stop-ServicethenStart-Service
Next Steps
- Windows Service hardening - Set the service to run as a low-privilege service account, not LocalSystem.
- Active Directory SSO - Connect IMTerm to your AD domain via LDAP or Kerberos. See Article 7: SSO and Kerberos Setup Guide.
- Script migration - Convert legacy emulator scripts to IMTerm JavaScript automatically. See the migration guide for details.
- Hebrew support - If your AS/400 uses Hebrew, see Article 3: Hebrew and BiDi Setup Guide.