Screen-to-HTML Modern View
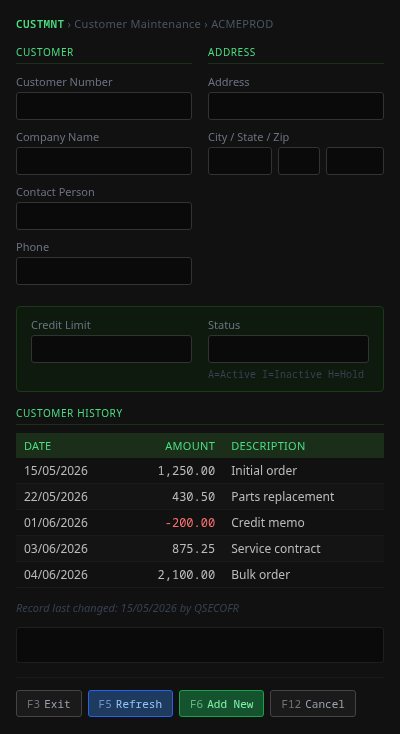
Modern View renders the current green screen as a clean HTML form alongside the terminal. You can fill fields in the form instead of typing on the terminal, IMTerm keeps both in sync. This tutorial shows you how to enable it, use it, and customise it with templates.
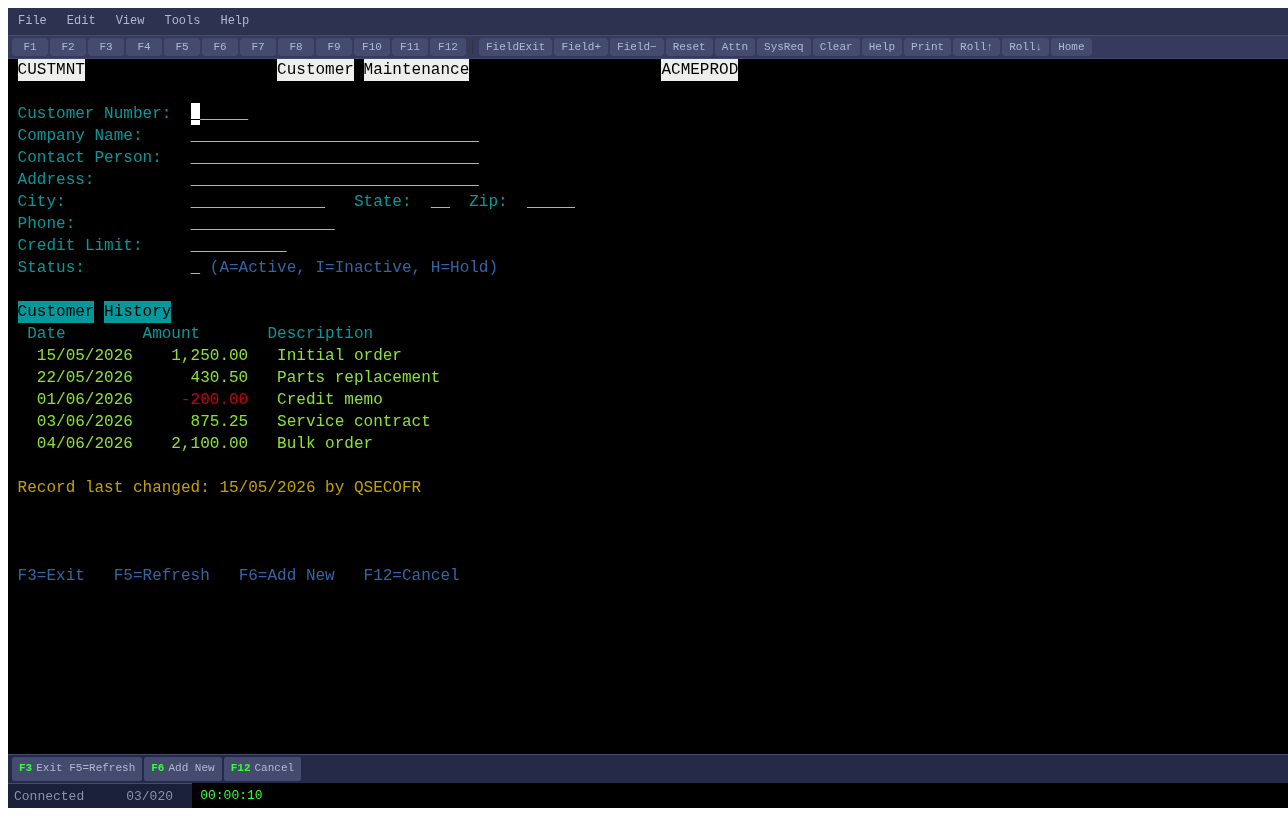
Connect to your AS/400 and reach a data-entry screen
Modern View works best on screens with input fields, like Customer Maintenance, Sign On, or any AS/400 form. Connect to your session and navigate to such a screen.
Open Modern View
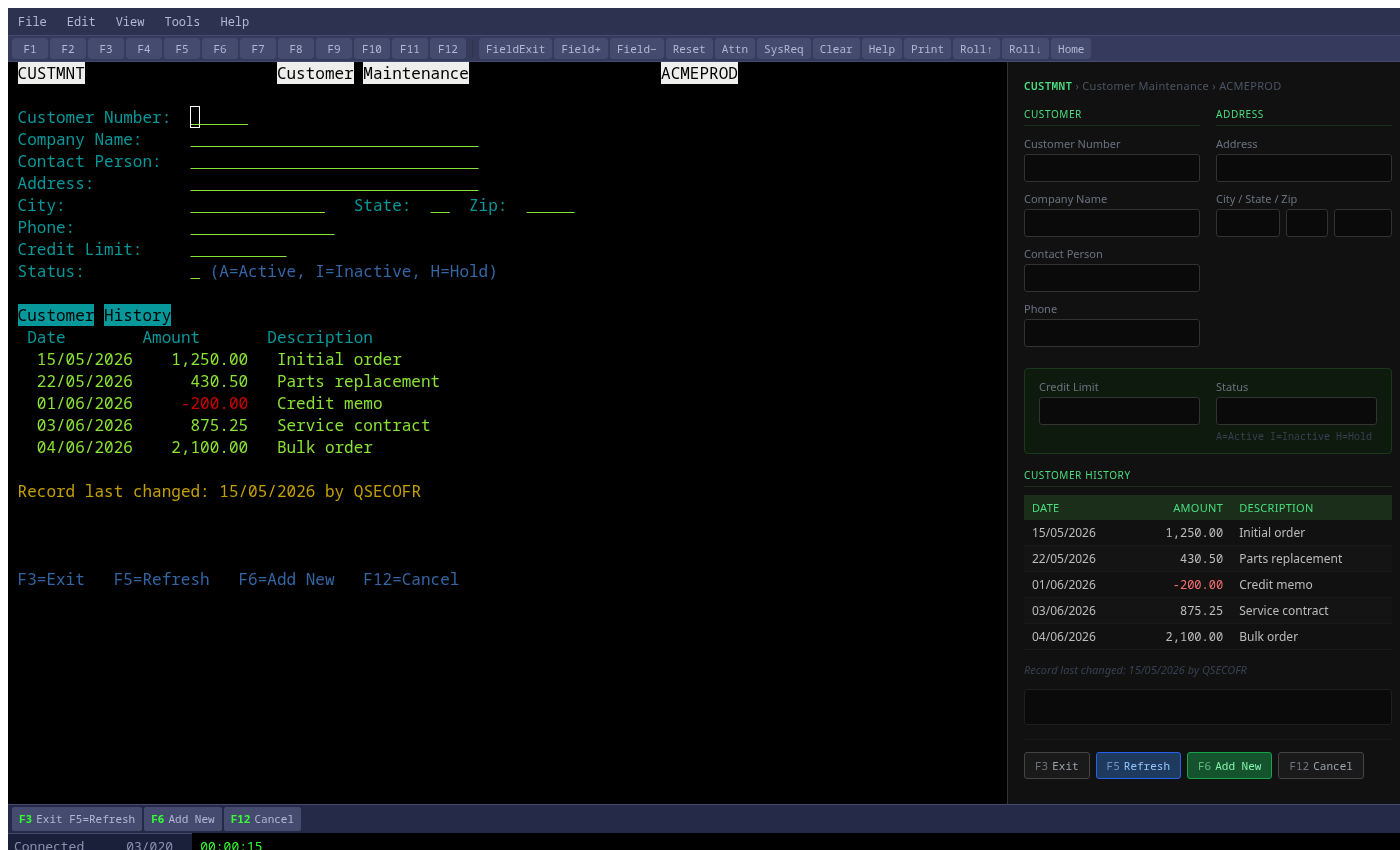
Click View > Modern View in the menu bar. Modern View opens as a panel on the right side of the terminal, no page reload required.
See the split view
Both views are active simultaneously. The terminal on the left shows the live host screen; the HTML form on the right reflects the current field values.
Edit a field in the HTML form
Click on any text input in the right panel and type a value. You do not need to click on the terminal, the HTML form accepts input directly.
Send the form to the host
Press the Enter button at the bottom of the HTML form (or press Enter in any field). IMTerm packages all the field values and sends them to the host exactly as if you had filled the green-screen fields manually.
Use F-key buttons
The bottom of the HTML panel also shows F-key buttons (F3=Exit, F5=Refresh, etc.) extracted from the green screen. Click them to send the corresponding F-key to the host without touching the terminal.
Print the Modern View form
Click the Print button in the Modern View toolbar. This triggers a browser print that automatically hides the terminal and prints only the HTML form, clean, no green-screen borders.
Try a custom template
Click the Templates button in the Modern View toolbar to open the Template Editor. You can see built-in templates (like CUSTMNT for Customer Maintenance) and create your own for other screens. Templates use the screen title to auto-apply.