Printing & Archive
IMTerm supports two print workflows: Screen Print captures exactly what's on your terminal as a PDF. Host Printer Sessions intercept spool files sent by the AS/400 to a virtual printer, converting them to PDF automatically. Both are searchable in the Print Archive.
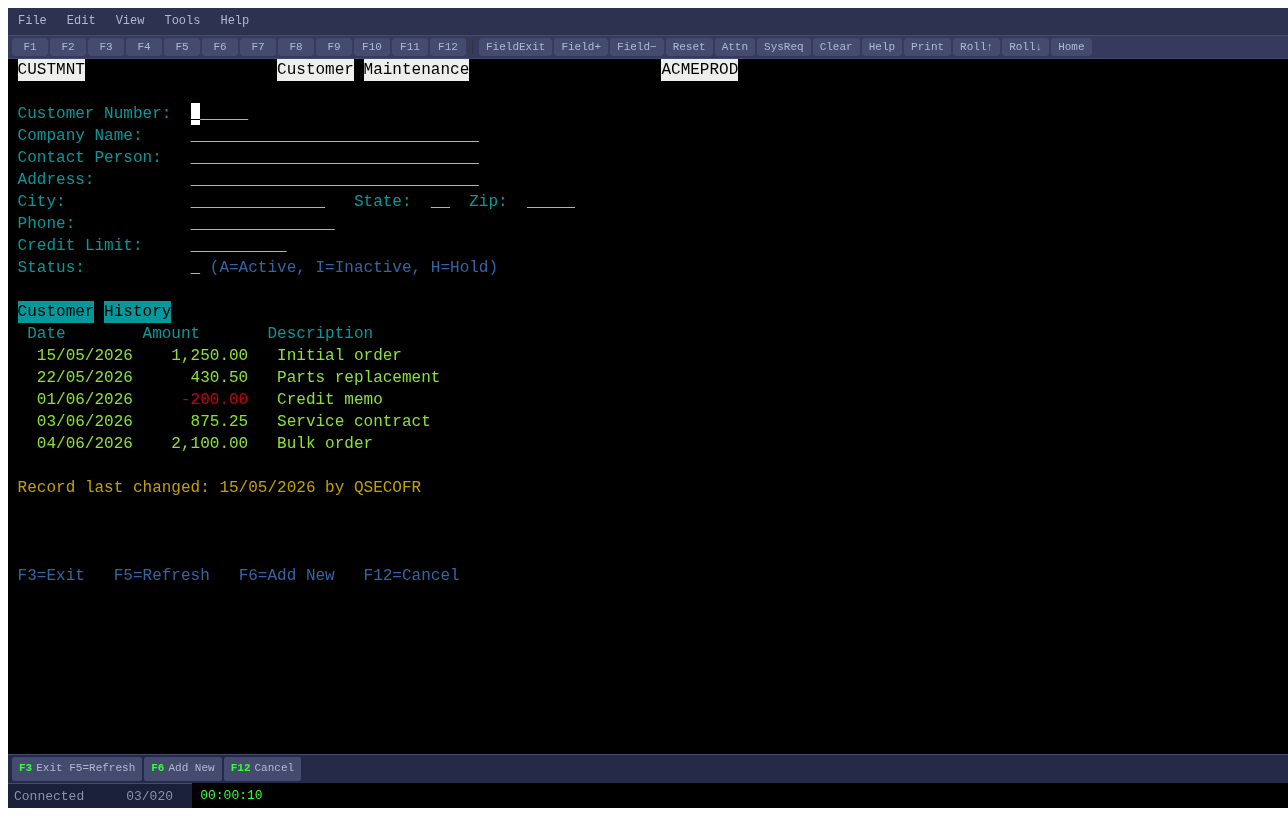
Navigate to the screen you want to print
Screen Print captures the terminal exactly as displayed. Navigate to the screen, an order record, a report, a customer detail, that you want to archive or share.
Open Print Setup
Click File > Print Setup… to configure the print options before printing.
Configure orientation and font size
Choose Portrait for standard 80-column screens or Landscape for wide 132-column screens. Increase the font size for readability or decrease it to fit more content on one page. Optionally add a header (e.g. session name) and footer (e.g. page number or timestamp).
Print to PDF
Click Print in the dialog, or close the dialog and press Ctrl+Shift+P. The browser's print dialog opens with the terminal content formatted as a document.
Open the Print Archive
Click Tools > Spool Viewer… or look for the PRINT tab in the right panel. The archive lists all print jobs captured by IMTerm, both screen prints and host printer spool files.
Search archived print jobs
Use the search bar at the top of the PRINT tab to filter by session name, date range, user, or keyword. The archive supports full-text search of the captured document content.
Preview a print job
Click the Preview button (eye icon) on any archived job to open the PDF in a browser tab. The PDF contains the original terminal output, including colors if your print settings included them.
Add compliance tags
Click the Tag button (tag icon) on a job to add compliance labels such as "Approved", "Confidential", or a custom category. Tags are indexed and searchable.
Reprint a job
Click the Reprint button (printer icon) on any archived job to send it to the system printer again. Useful when a physical printer was unavailable when the job was first generated.
Host printer sessions (advanced)
For automatic capture of AS/400 spool files, ask your administrator to set up a Printer session type in IMTerm's connection profile. IMTerm emulates a virtual 5250 printer device (DEVTYPE *IPDS or *SCS). When the AS/400 sends a spool file to that virtual printer, IMTerm converts it to PDF and stores it in the archive automatically, no manual print action required.